-
Tag Line: Image Backup
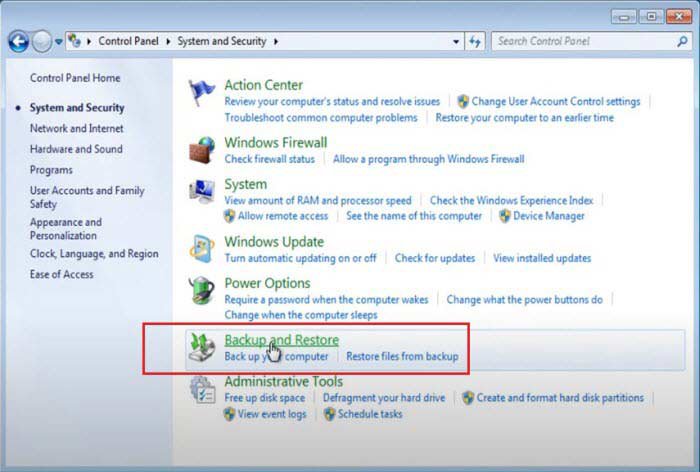
To make a system image backup in Windows 8.1, you must navigate to the File History control panel (and not the main File History interface, which is in the Metro-style PC Settings.) Using Smart Search, be sure to choose the right entry.
In the File History control panel that appears, look in the lower left corner. The option you're looking for is System Image Backup. Click that, and the familiar Create a System Image wizard appears and you're good to go.
To restore an existing system image backup—that is, to restore the entire OS install to a previous point in time—simply plug-in the external drive that contains the backup. Then, navigate to PC Settings, Update and Recovery, Recovery and click the Restart Now button under Advanced Startup. The PC will restart.
At the Choose an Option screen, choose Troubleshoot.
At Troubleshoot, choose Advanced Options.
At the Advanced Options screen, choose System Image Recovery. The PC will restart.
At the System Image Recovery screen, select your user name and then type your password when prompted.
The Re-Image Your Computer wizard will start. In the first page of this wizard, select the correct system image you wish to restore to. Then click Next and step through the wizard to restore your PC to the selected system image backup.
Is this the ideal tool for backing up and restoring Windows 8.1? No. But for those that wish to continue using this tool, it does still work. And of course it's valuable to have around if you have backups from previous versions of Windows.


Join the conversation
You can post now and register later. If you have an account, sign in now to post with your account.